How to Fix Error -1101 TaiG Jailbreak
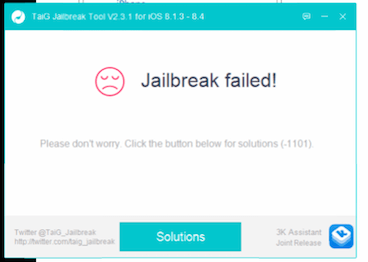
TaiG team working like a machine dropped iOS 8.x.x – iOS 8.4 Untethered Jailbreak as soon as the latest update was pushed out by Apple. Fortunately, Apple didn’t fix the exploits in its iOS 8.4 release and TaiG was able to retain its Jailbreak for iOS 8.4. However, the Jailbreaking world was extremely happy, but TaiG Error -1101 and stuck on 20% or 30% ruined their happiness. Meanwhile the users were searching for an answer; Saurik released series of updates to Cydia and released 1.1.20 version of Cydia with many bugs fixed and stability.
In addition to the series of update by Saurik to Cydia, TaiG also update their tool to add new Cydia in it and fixed the issues of Jailbreak stuck at 20% or 35% faced by many users, but still people complained of having such issues of TaiG Error -1101 Jailbreak failed.
TaiG Error -1101 Fix – 100% Working
In order to fix TaiG Error -1101 and Jailbreak Failed error in TaiG, follow the steps below and you will overcome all the errors.
Step 1:
Turn Off Findmyiphone
The first and foremost requirement of TaiG Jailbreak is to turn off findmyiphone because it is not able to access your iPhone and perform the Jailbreak.
Step 2:
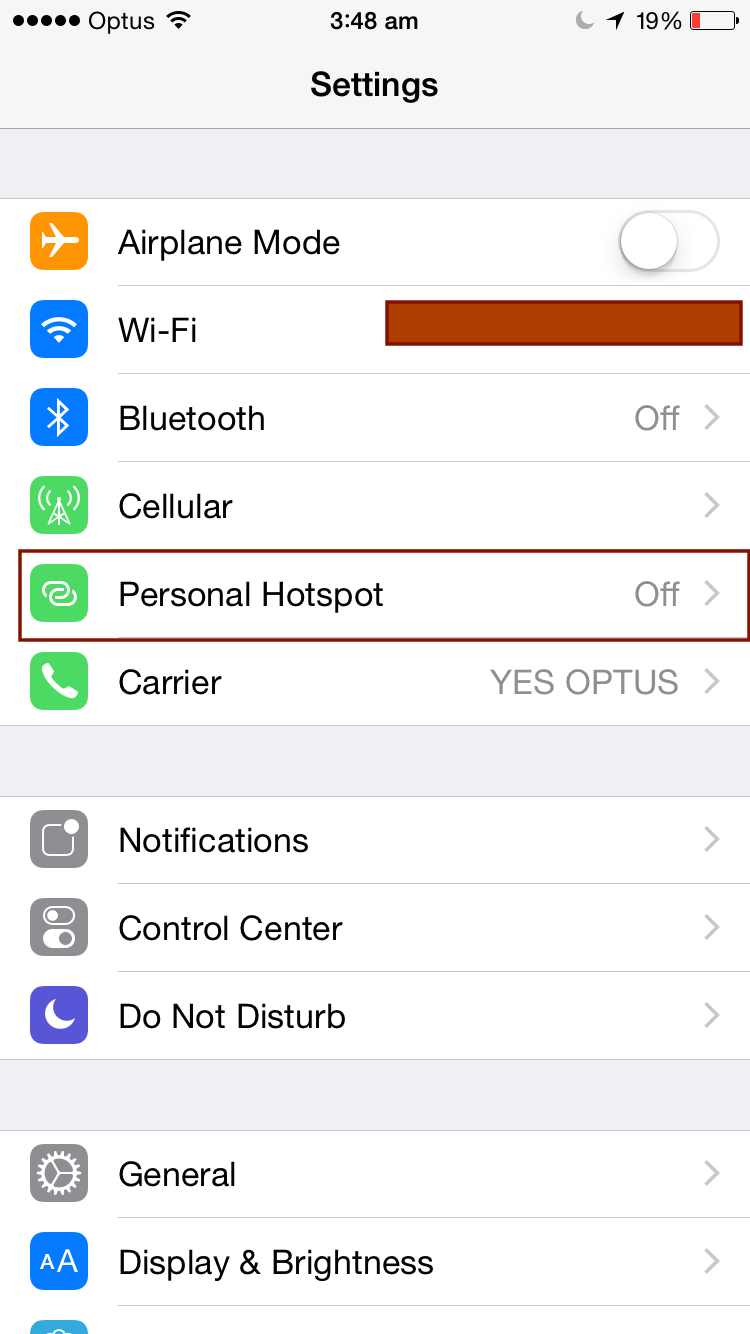
Airplane Mode
Turn on the airplane on your iPhone because it helps somehow in Jailbreaking your iPhone by Taig. Many people have reported success until this step.
Step 3:
Disable Passcode
TaiG tool reboots your iPhone when performing the Jailbreak many times. So it is recommended that you should turn off your passcode or touch id for the time being to allow TaiG tool to perform the Jailbreak procedure easily.
Step 4:
Run as Administrator
Run TaiG as an Administrator in your computer to allow it to make changes in your iPhone while doing the Jailbreak.
Step 5:
Disable Antivirus
Disabling Antivirus allows TaiG to work well because in some cases your antivirus can be the culprit in landing errors.
If any of these steps don’t work at your end, then try our last resort method.
Last Resort Method to Fix TaiG Error:
Fresh Restore
Perform a fresh restore if you are experiencing the issues of Jailbreak Failed or some other errors. We will call this the last resort to solve all the issues of TaiG Error. When you perform a fresh Restore, don’t restore from the Backup. Setup as a new iPhone. Prior setting up as a new iPhone, disconnect from iTunes for safety reasons.
This is a special diagnostic guide made for you to fix TaiG Error. Perform step by step and you will succeed.
You can download the latest version of TaiG from Here.